HOW TO Use Lumilapse
Thank you for purchasing LUMILAPSE
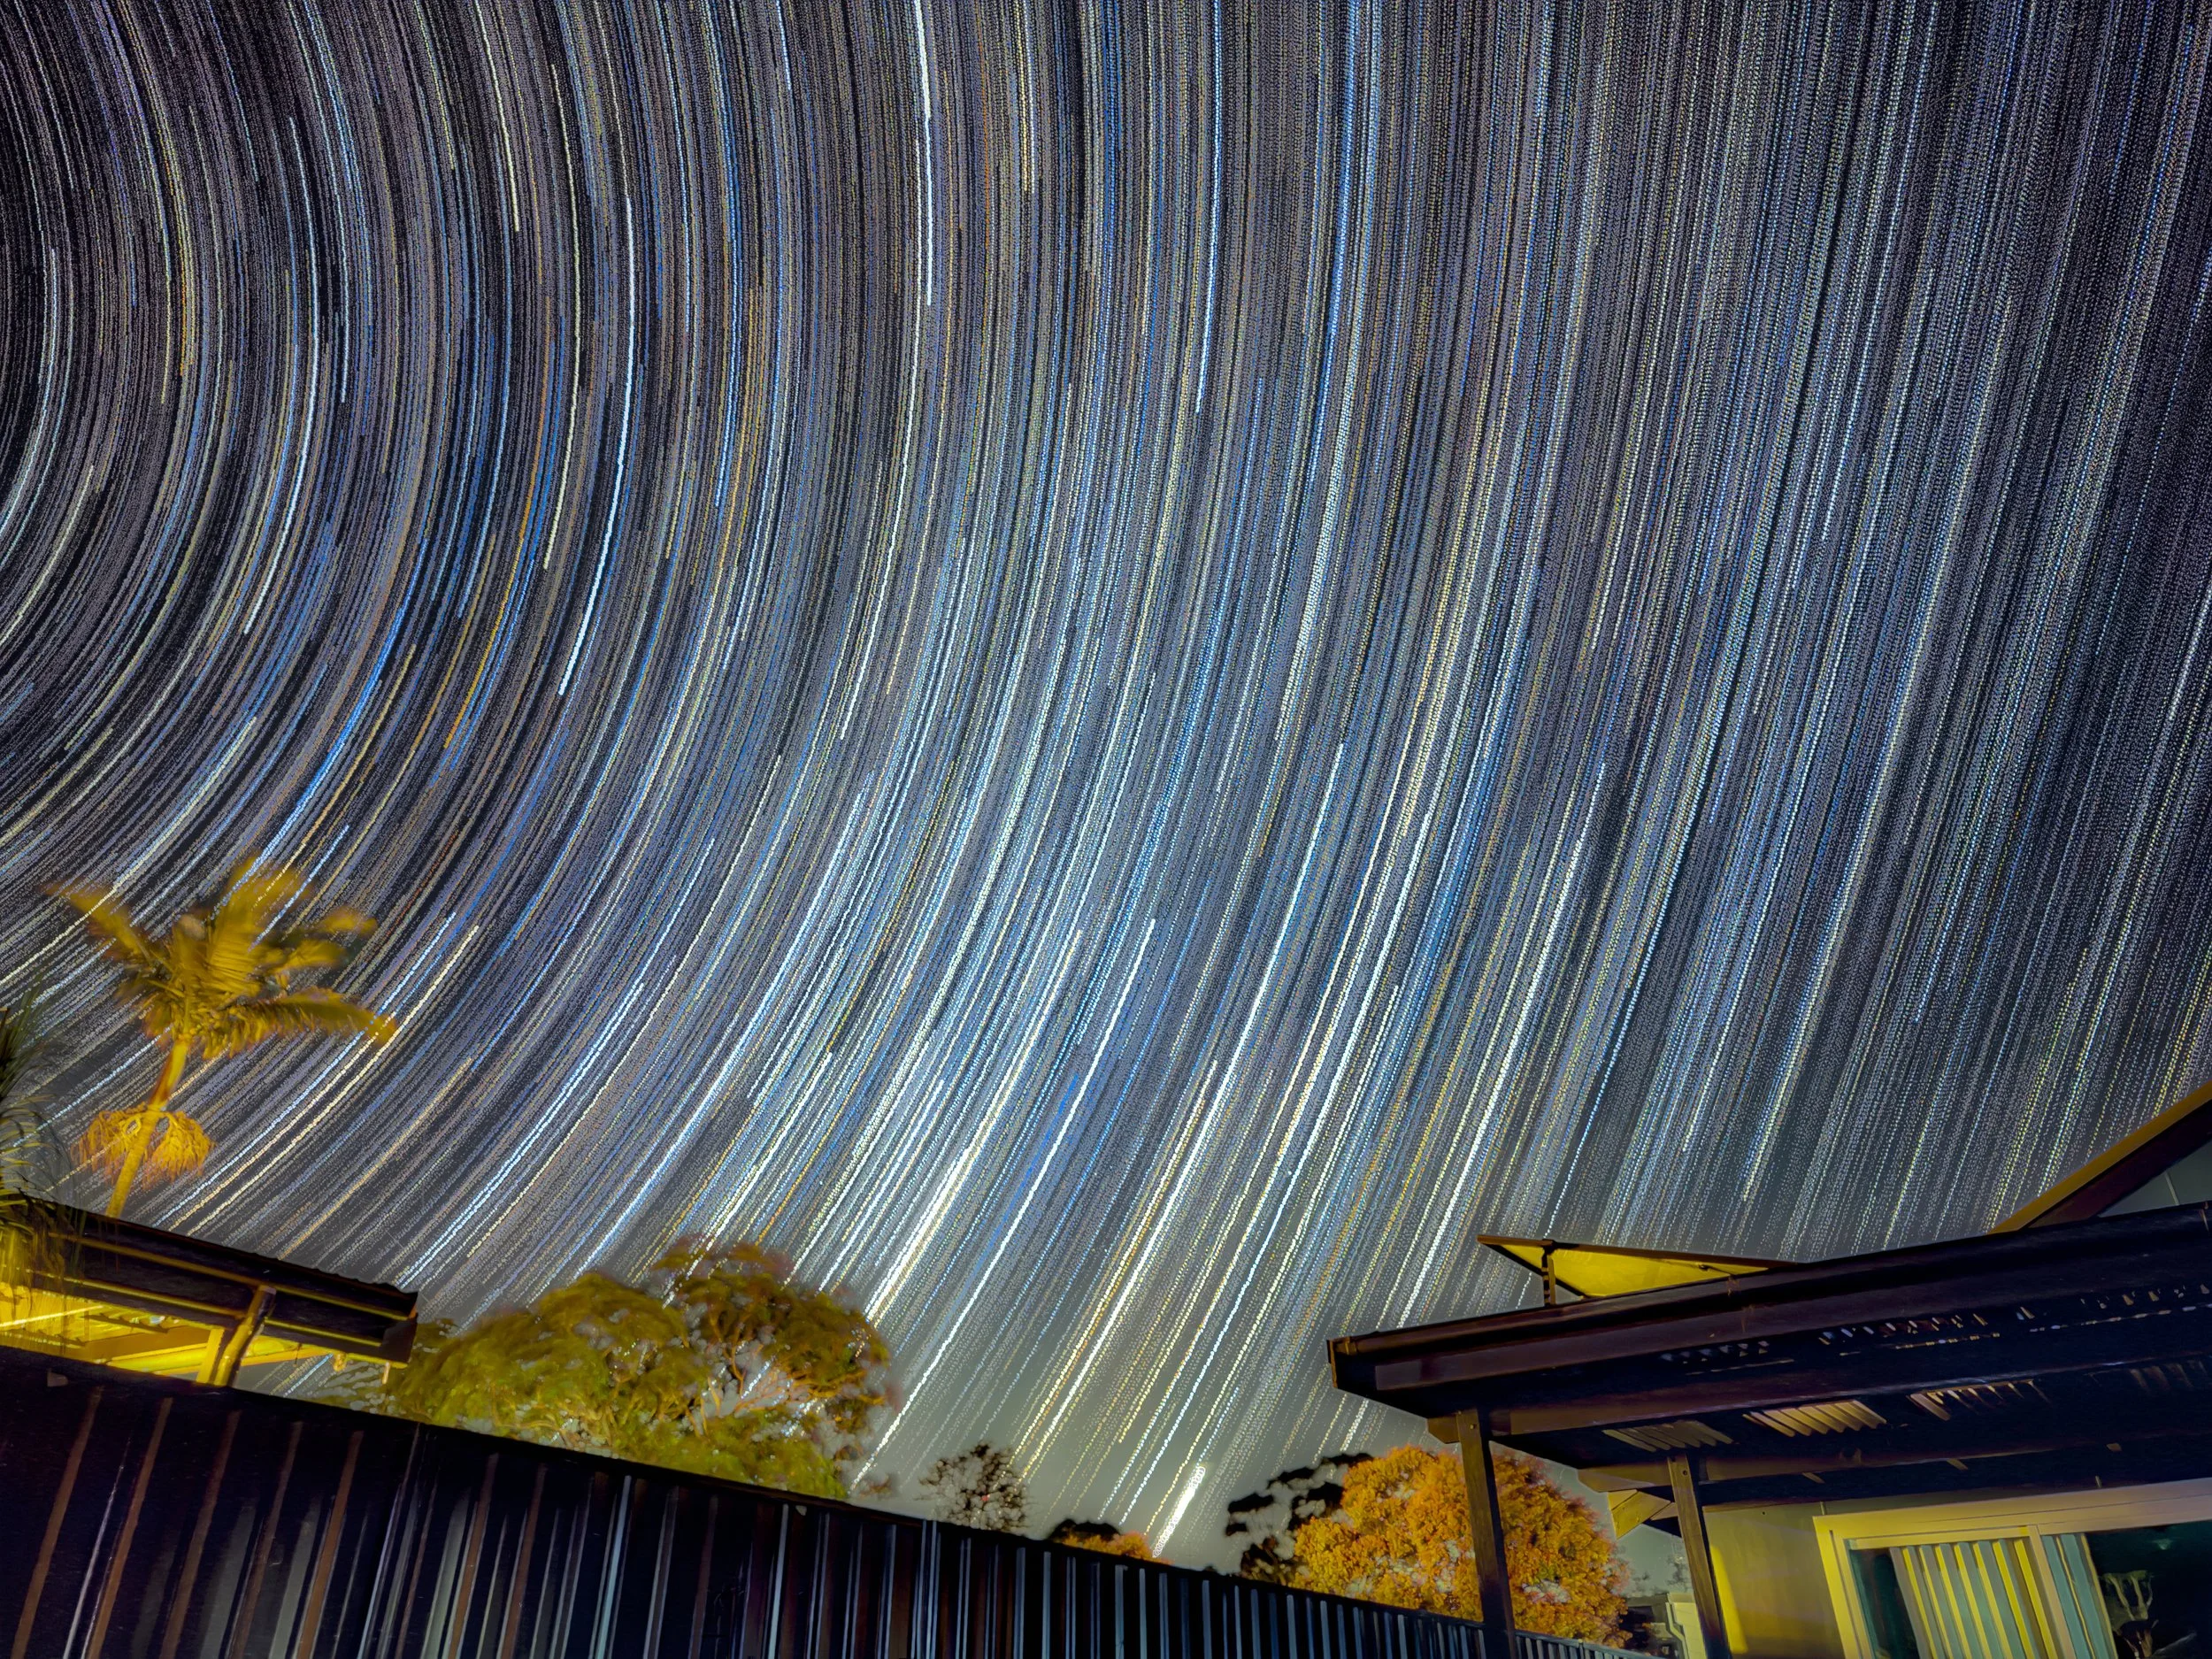
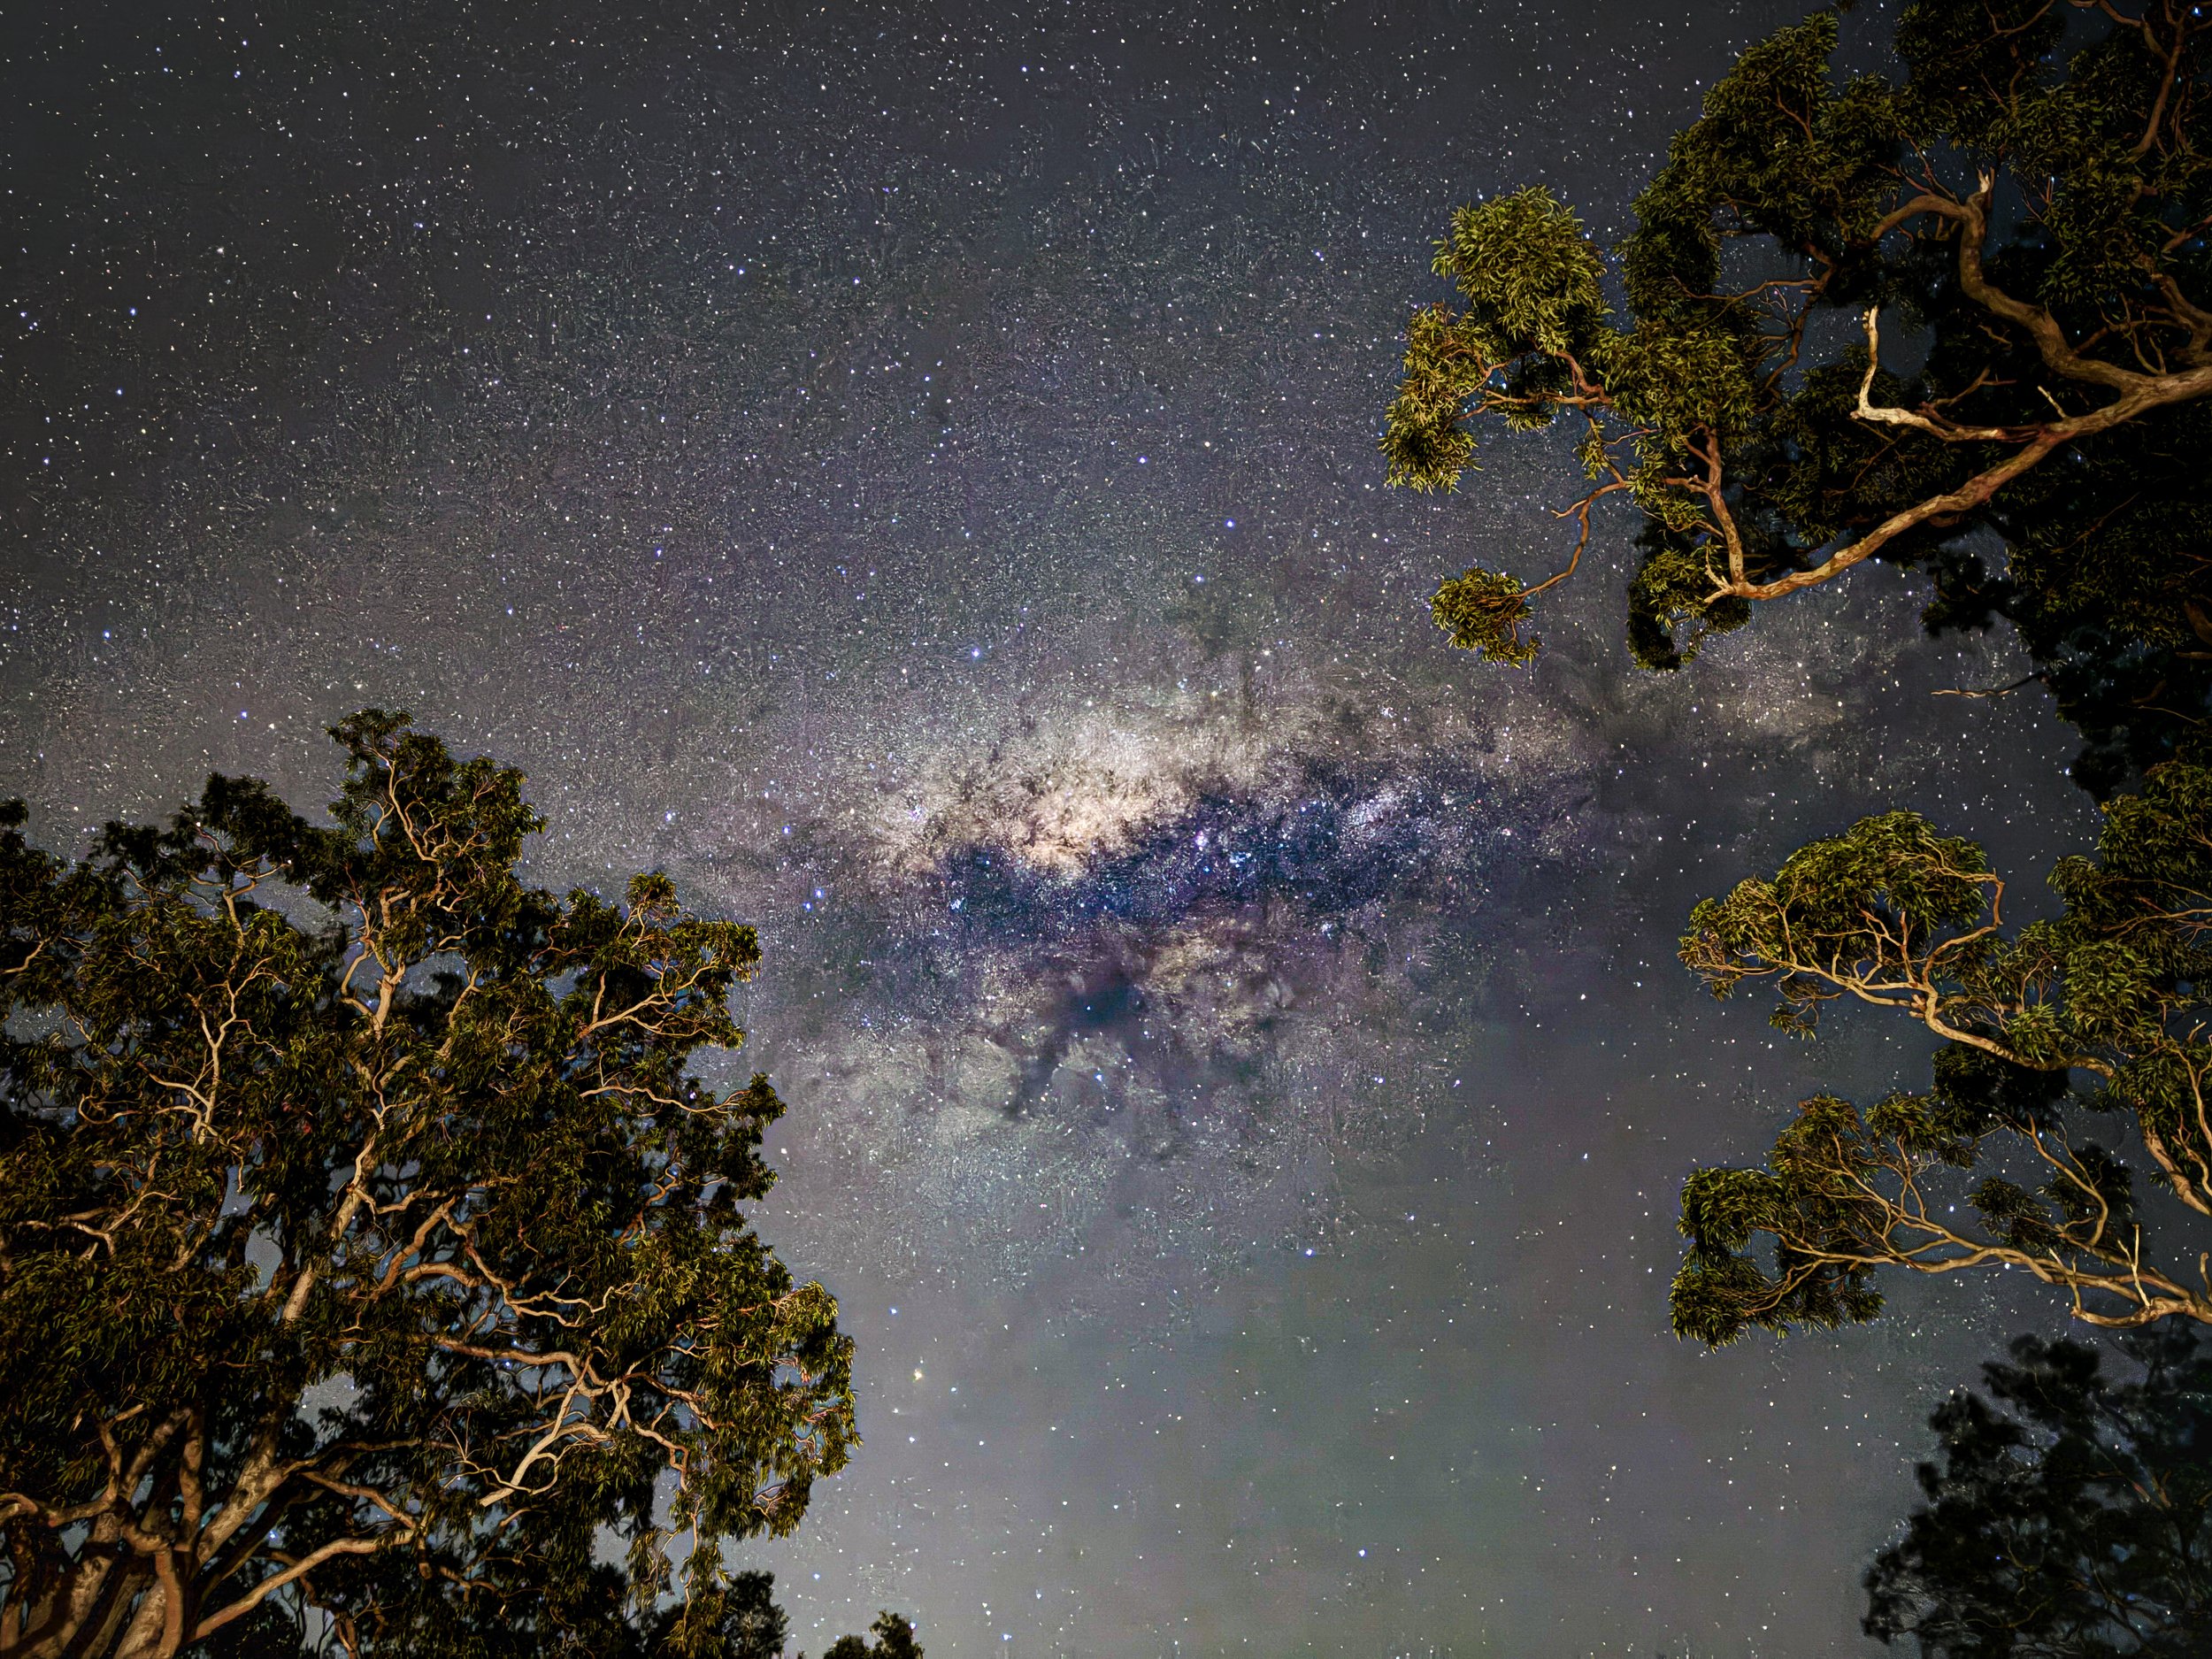
Here is a Step by Step guide to get you started capturing amazing astro time lapse videos.
For visual learners, there is a good tutorial on its setup and mobile editing workflow starting from 1 min 21 seconds
1 . Connect your LUMILAPSE to power (directly to an iPhone 15/16 via USB-C or to a battery bank).
2 . On Your iPhone go to Settings, select Bluetooth and scroll to the bottom. You will see LUMILAPSE as a new Bluetooth device (If you don’t see it, go back to settings and back into Bluetooth).
3 . Select the LUMILAPSE device and click pair. It will now pair and bond with your phone. (This step is only required for the first time. Each subsequent time you want to use your LUMILAPSE, just connect to power and open your camera app). You can now unplug the LUMILAPSE device until step 6.
4 . Setup your iPhone on your tripod and open the native camera app. Click on the top arrow button in the middle of the screen (this will show you a menu at the bottom of the screen).
5 . Click on the night mode option (typically 2nd from the left with the moon shaded out circle icon). Set the duration to max. If your scene is dark enough, this will now show MAX 30 sec.
6 . Position your iPhone to form your composition and take a few manual test shots to ensure you're happy. Once your ready to start capturing, I would recommend to turn on aeroplane mode to save battery and to avoid calls or disruptions stopping image capture, close all open apps to save battery, ensure bluetooth is turned on, open your camera app back up and plug your LUMILAPSE into power. Within 30 seconds it will start to capture photos for you. Let it capture as many as possible and when you’re completed, unplug LUMILAPSE from power.
7 . For post production tips I have created a video for a PC / Mac OS editing workflow here.
✨ Happy Shooting 🌟
Desktop Editing workflow
Mobile Editing workflow